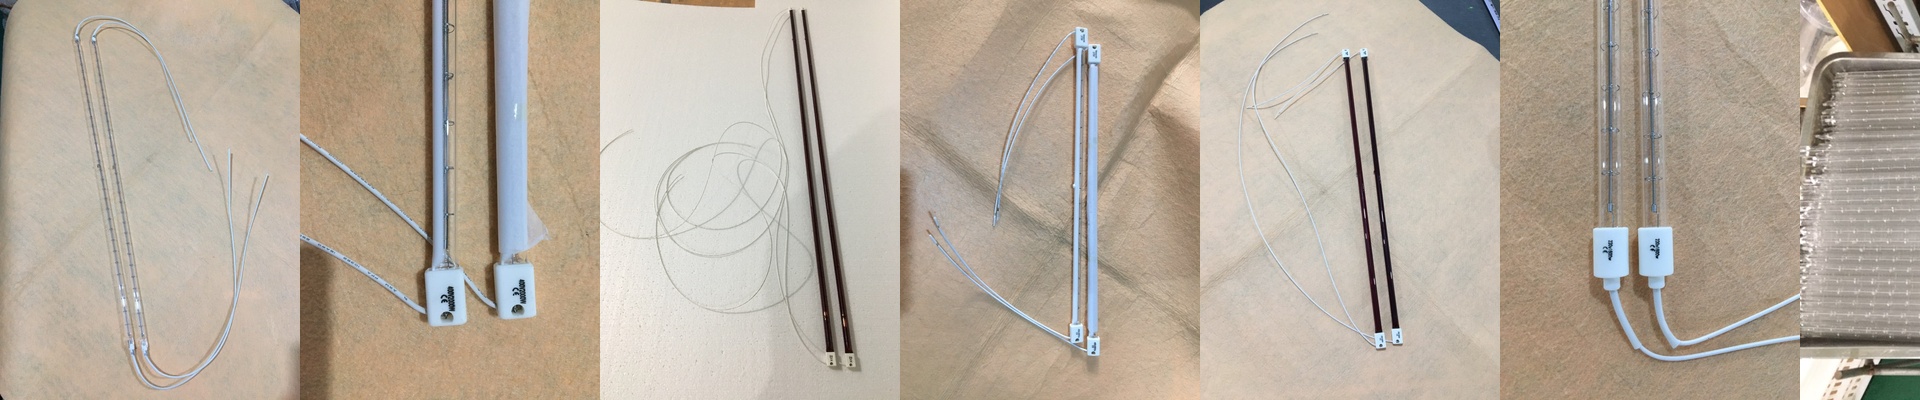
Getting Your Sidel Matrix Lamps Right
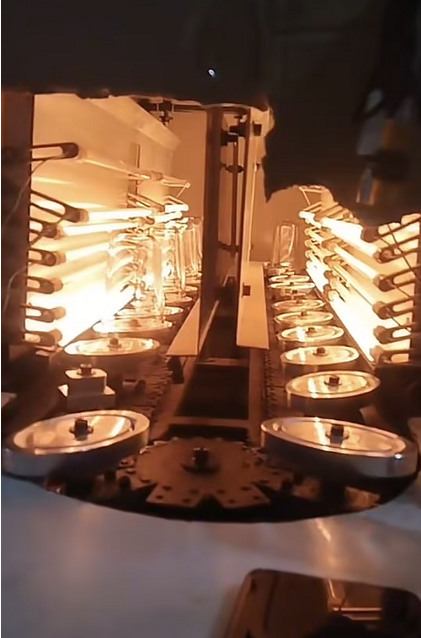
Here is the problem when you swap out OEM lamps in a Sidel Matrix oven: you risk messing up your temperature curve. If the wattage is a bit off or the spectral output shifts, you start seeing the red flags. Thin walls. Uneven preforms. That annoying pearlescence in the PET. It’s a headache you don’t need. We fix this by benchmarking every single parameter 1:1.
It’s more than just “fitting the socket”
A lot of people think a drop-in replacement just needs to fit the hole. But it’s deeper than that. We match the voltage and wattage exactly so the heat density per millimeter stays the same as the original. Why? Because if the voltage drifts even a little, the IR radiation intensity changes. Suddenly, you’re spending your whole shift rewriting oven profiles just to get a decent bottle. By mirroring the OEM electrical load, your ramp-up and soak times stay exactly where they should be.
The nitty-gritty on glass and light
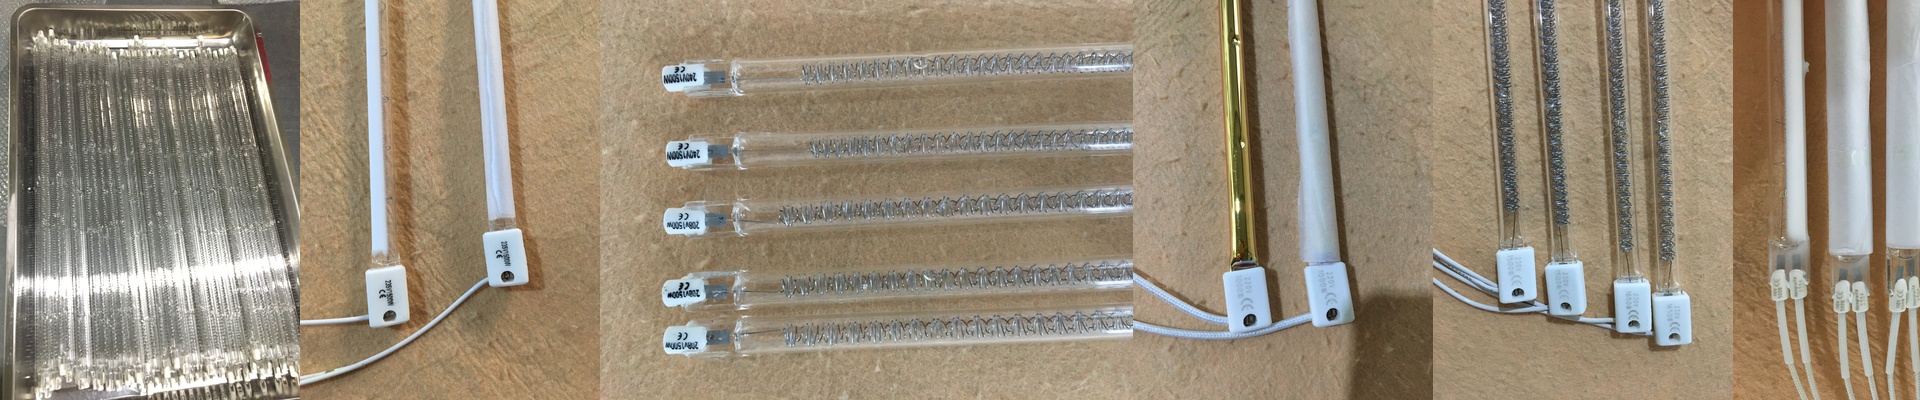
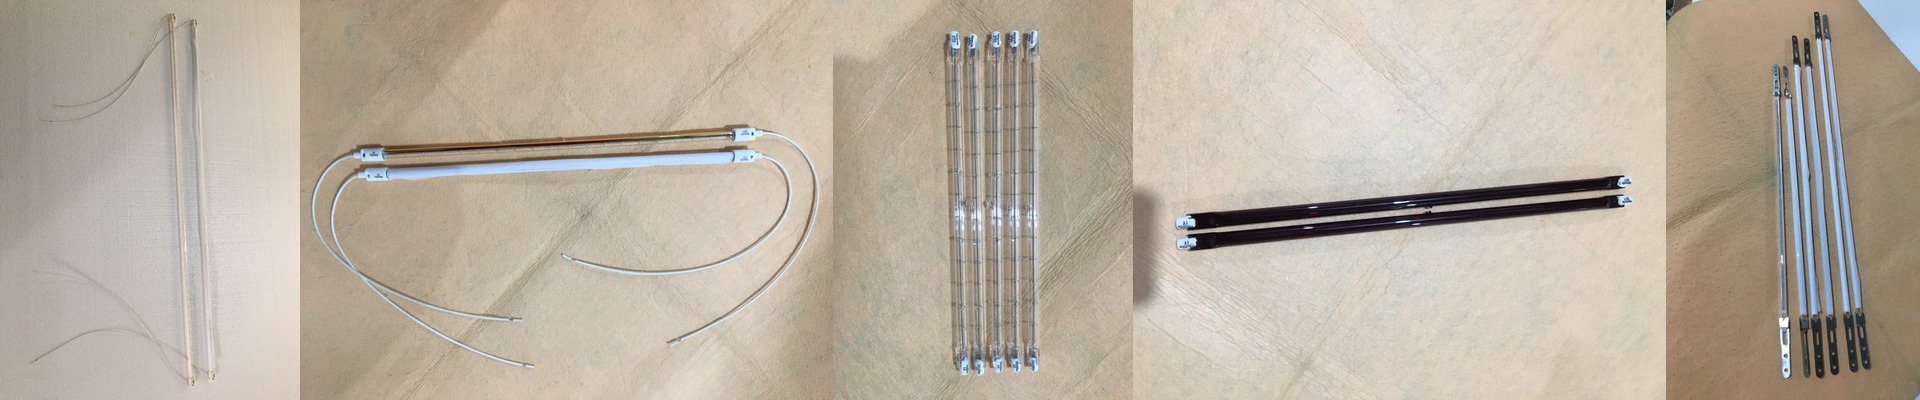
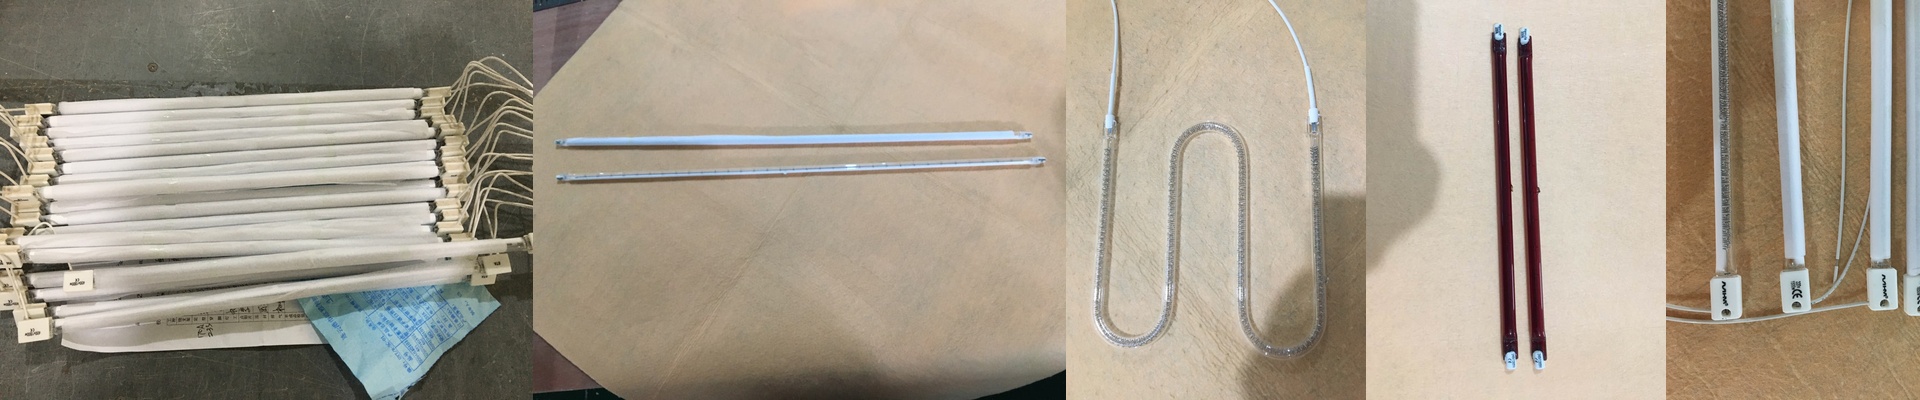
We use high-purity quartz and specific halogen fills to keep the emission spectrum tight. Sidel machines are picky—they need specific short-wave or medium-wave IR to actually get through the PET wall. We calibrate the coating and filament thickness to hit those exact peaks. And the connectors? They’re built to the Sidel footprint. No fighting with wiring. No hacking the lamp holders. They just slide in and lock.Simple.
A quick reality check
Now, here is the trade-off. Higher heat density can lead to faster cycle times, but it puts more stress on the filaments. Our lamps match the OEM curve, but if you push them to the absolute limit of the power spec, you’re asking for a burnout—especially if your oven’s airflow is clogged. One last tip:Keep your reflectors clean. If your reflectors are oxidized, it doesn’t matter how precision-engineered the lamp is. You’ll still have heat distribution problems. A clean reflector is the secret sauce.