Dealing with Heat Issues in KHS Blowing Machines
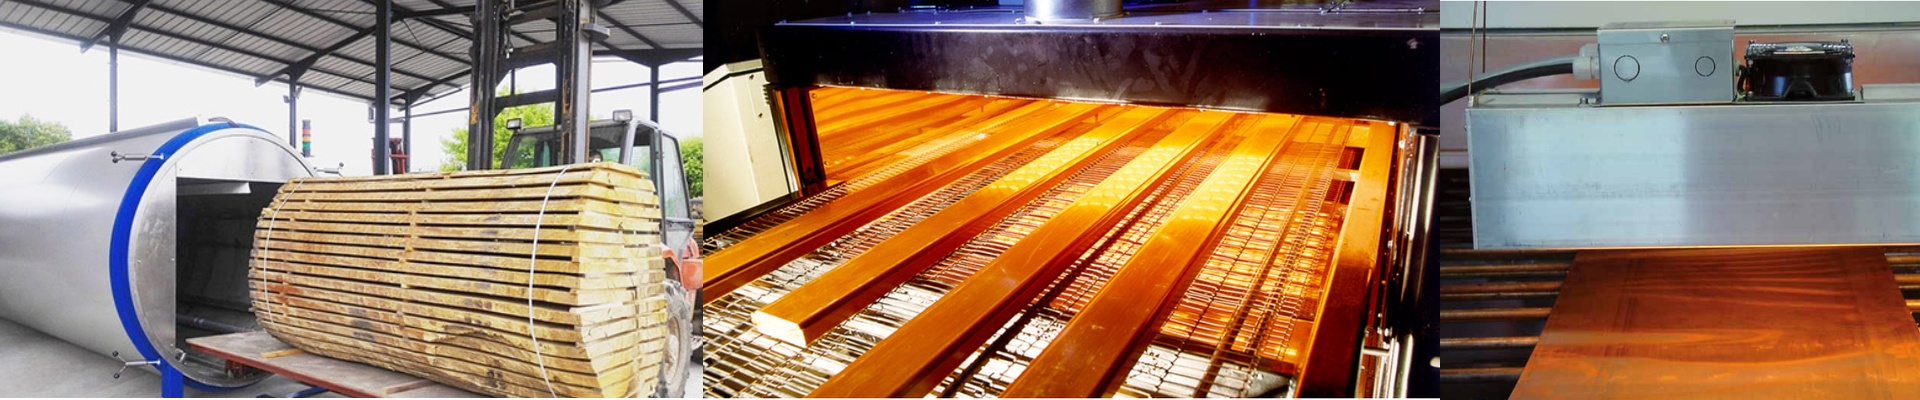
Ever pull a batch of PET bottles off the line only to find they’re distorted or the walls are thin in some spots and thick in others? It’s a headache. Usually, it comes down to the heating. Most of the time, it happens because the OEM lamps have just worn out, or someone swapped them for replacements that don’t actually put out heat the way the original ones did. The trick isn’t just cranking up the wattage. It’s about getting a steady, even heat field across the whole preform.
Getting the Heat Right
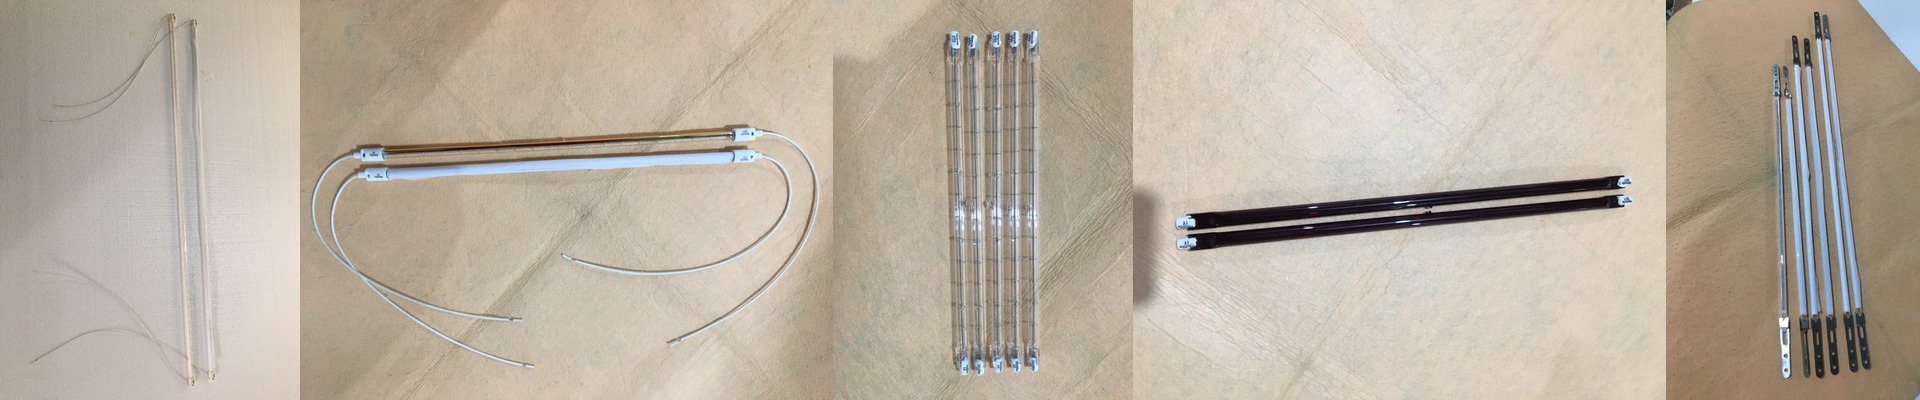
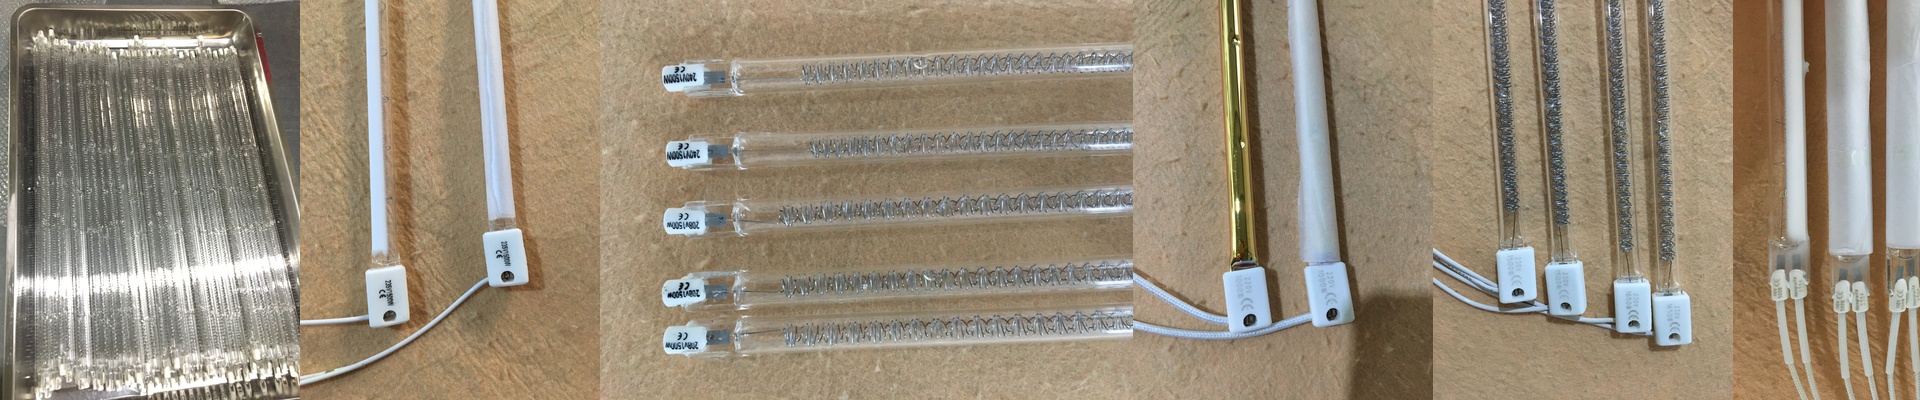
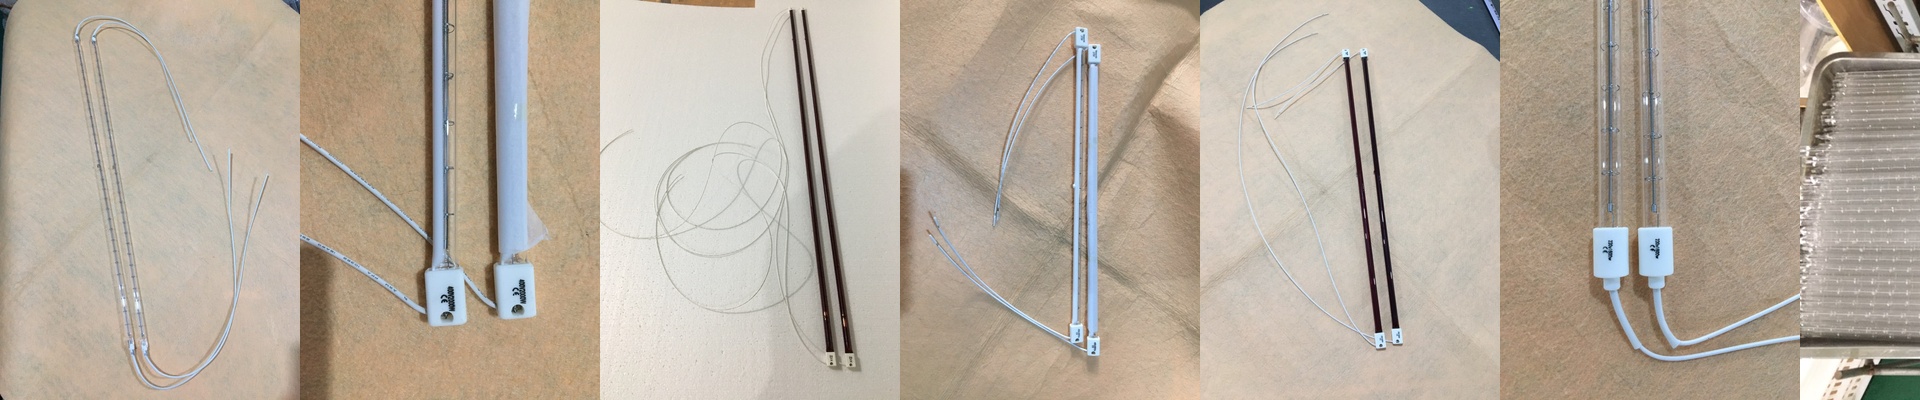
If you’re fighting “cold spots,” you need lamps that don’t fluctuate. We’ve spent a lot of time on the tiny details—like the purity of the quartz and exactly where the filament sits. Why does that matter? Because it stops that annoying temperature dip you usually see at the ends of the tube. It means your preform gets heated evenly from top to bottom, no guesswork involved.
No Messy Installs
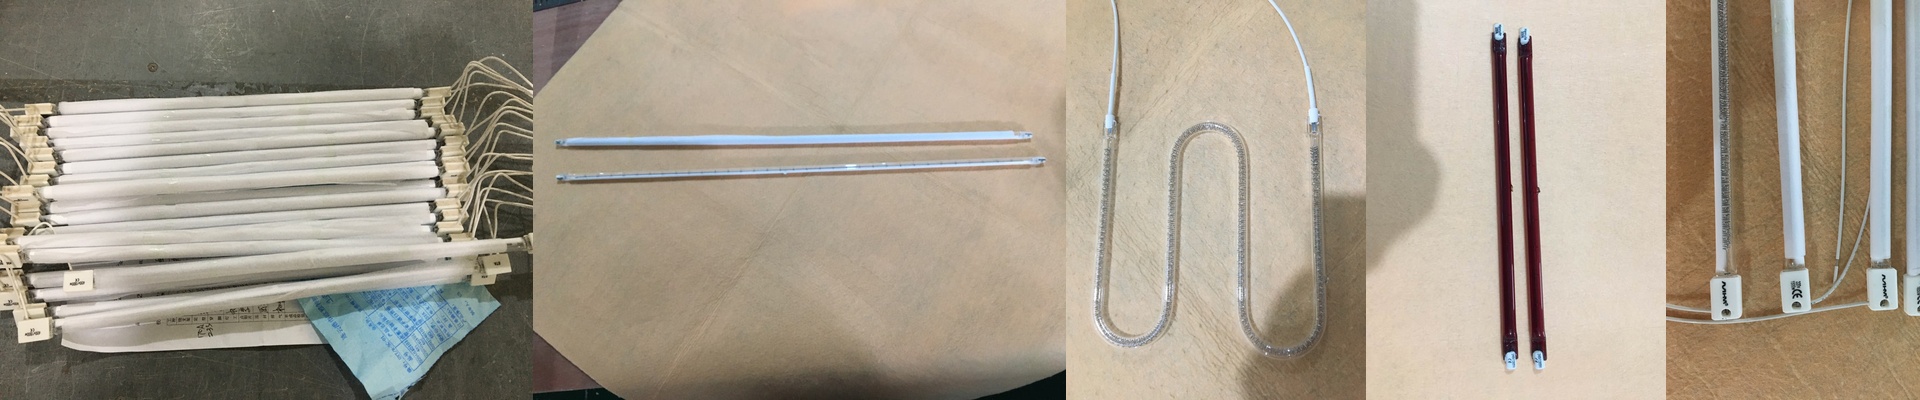
These are simple drop-in replacements. We used high-grade quartz glass because these things take a beating with the constant heating and cooling. Plus, the connectors match the KHS footprint exactly. You won’t have to spend your afternoon rewiring the oven. We also tweaked the internal gas fill. It pushes the infrared energy right into the plastic instead of letting it leak out and heat up the machine frame. It’s just more efficient.
The Trade-off
Here is the honest part: if you want faster cycle times, you need higher heat density. But there’s a catch. When you push for maximum output to get more bottles out the door, your lamps won’t last as long. If your voltage is jumping around, the filaments will evaporate faster. If you’re noticing they’re burning out too quickly, it’s worth double-checking your power stabilizers. And remember, your lamp needs to match the weight of your preform. If the heat is too aggressive, you’ll scorch the plastic. Too weak? You’ll get that cloudy, pearlescent look in the walls. It’s all about finding that sweet spot.